Frequently Asked Questions
General Questions
1. What's new in version 2.5?
Version 2.5 adds an optional Replace Image URLs Globally setting that processes the final Joomla HTML output and rewrites same-site JPG, JPEG, and PNG URLs to converted WebP/AVIF URLs when available. This improves compatibility with JSON-LD structured data, Open Graph metadata, Twitter Card images, preload links, and URLs generated by third-party extensions.
2. Should I enable Replace Image URLs Globally?
Enable it if tools like PageSpeed, Lighthouse, source-code checks, or SEO/schema extensions still show original JPG/PNG image URLs in metadata or preload tags after normal visible image conversion works. Keep it disabled if you only want standard image tag conversion.
3. Does global replacement affect external images or picture fallbacks?
No. The feature skips external image URLs and preserves existing <picture> fallback images so browser compatibility remains intact. It also preserves absolute/root-relative URL style and query strings.
4. What's new in version 2.1?
Version 2.1 is a major feature release with AVIF format support, native lazy loading for SEO optimization, Joomla 6.x compatibility, enhanced picture elements with automatic fallback, above-the-fold detection, and comprehensive Core Web Vitals improvements. The plugin now supports converting images to WebP only, AVIF only, or both formats simultaneously with intelligent browser fallback.
2. What is AVIF format and how does it differ from WebP?
AVIF (AV1 Image File Format) is a newer image format that provides up to 50% better compression than WebP while maintaining superior quality. The plugin supports converting images to WebP only, AVIF only, or both formats simultaneously. When both formats are selected, the plugin automatically generates picture elements with AVIF as the primary source, WebP as fallback, and the original image as final fallback, ensuring maximum browser compatibility and optimal performance.
3. What are the system requirements for AVIF support?
AVIF support requires PHP 8.1+ with GD library that includes the imageavif() function, or ImageMagick extension with AVIF support. The plugin automatically detects AVIF capability and falls back to WebP if AVIF is not available. For WebP-only conversion, PHP 7.4+ with GD library is sufficient. The plugin gracefully handles missing capabilities and provides clear error messages.
4. Is the plugin compatible with all Joomla versions?
Yes, the plugin is fully compatible with Joomla 4.x, 5.x, and 6.x. It uses modern Joomla APIs and namespaced classes, ensuring seamless integration without requiring backward compatibility plugins. The plugin automatically adapts to different Joomla versions and Media component configurations, working perfectly across all hosting environments.
SEO & Performance Questions
5. How does lazy loading improve SEO?
Lazy loading defers loading of images until they're about to enter the viewport, reducing initial page load time by up to 80%. This significantly improves Largest Contentful Paint (LCP) scores, a key Core Web Vitals metric that directly impacts search rankings. The plugin includes native browser lazy loading support with smart above-the-fold detection, ensuring critical images load immediately while off-screen images load only when needed.
6. Does the plugin preserve image metadata for SEO?
Yes, the plugin automatically preserves all image attributes including alt text, class names, IDs, and styles during conversion. This ensures accessibility compliance (WCAG guidelines), maintains SEO value of image metadata, and preserves any custom styling or JavaScript dependencies. The picture elements generated also maintain all original attributes for complete compatibility.
7. How much can image file sizes be reduced?
The plugin can reduce image file sizes by up to 80% depending on the format and quality settings. AVIF typically provides 30-50% better compression than WebP at the same quality level. Combined with lazy loading, this results in significantly faster page load times, improved Core Web Vitals scores, and better search engine rankings.
Format Selection Questions
8. Should I use WebP only, AVIF only, or Both formats?
For maximum compression and browser compatibility, use "Both" formats. This generates both AVIF and WebP files, with the plugin automatically creating picture elements that serve AVIF to supporting browsers, WebP as fallback, and the original image as final fallback. If your server doesn't support AVIF, use "WebP Only". If you want maximum compression and your audience uses modern browsers, "AVIF Only" provides the best results.
9. What happens if I select "Both" formats?
When "Both" is selected, the plugin automatically enables picture elements and generates both AVIF and WebP files. The HTML output uses picture elements with proper source ordering: AVIF first (best compression), WebP second (good compression, wider support), and original image as final fallback. This ensures optimal performance across all browsers while maximizing compression benefits.
10. Can I use different quality settings for WebP and AVIF?
Yes, the plugin provides separate quality controls for both formats. WebP quality can be adjusted from 5-100%, while AVIF quality (5-100%) is automatically scaled to the 0-63 range that AVIF uses. You can optimize each format independently to achieve the perfect balance between file size reduction and image quality for your specific needs.
Batch Operations Questions
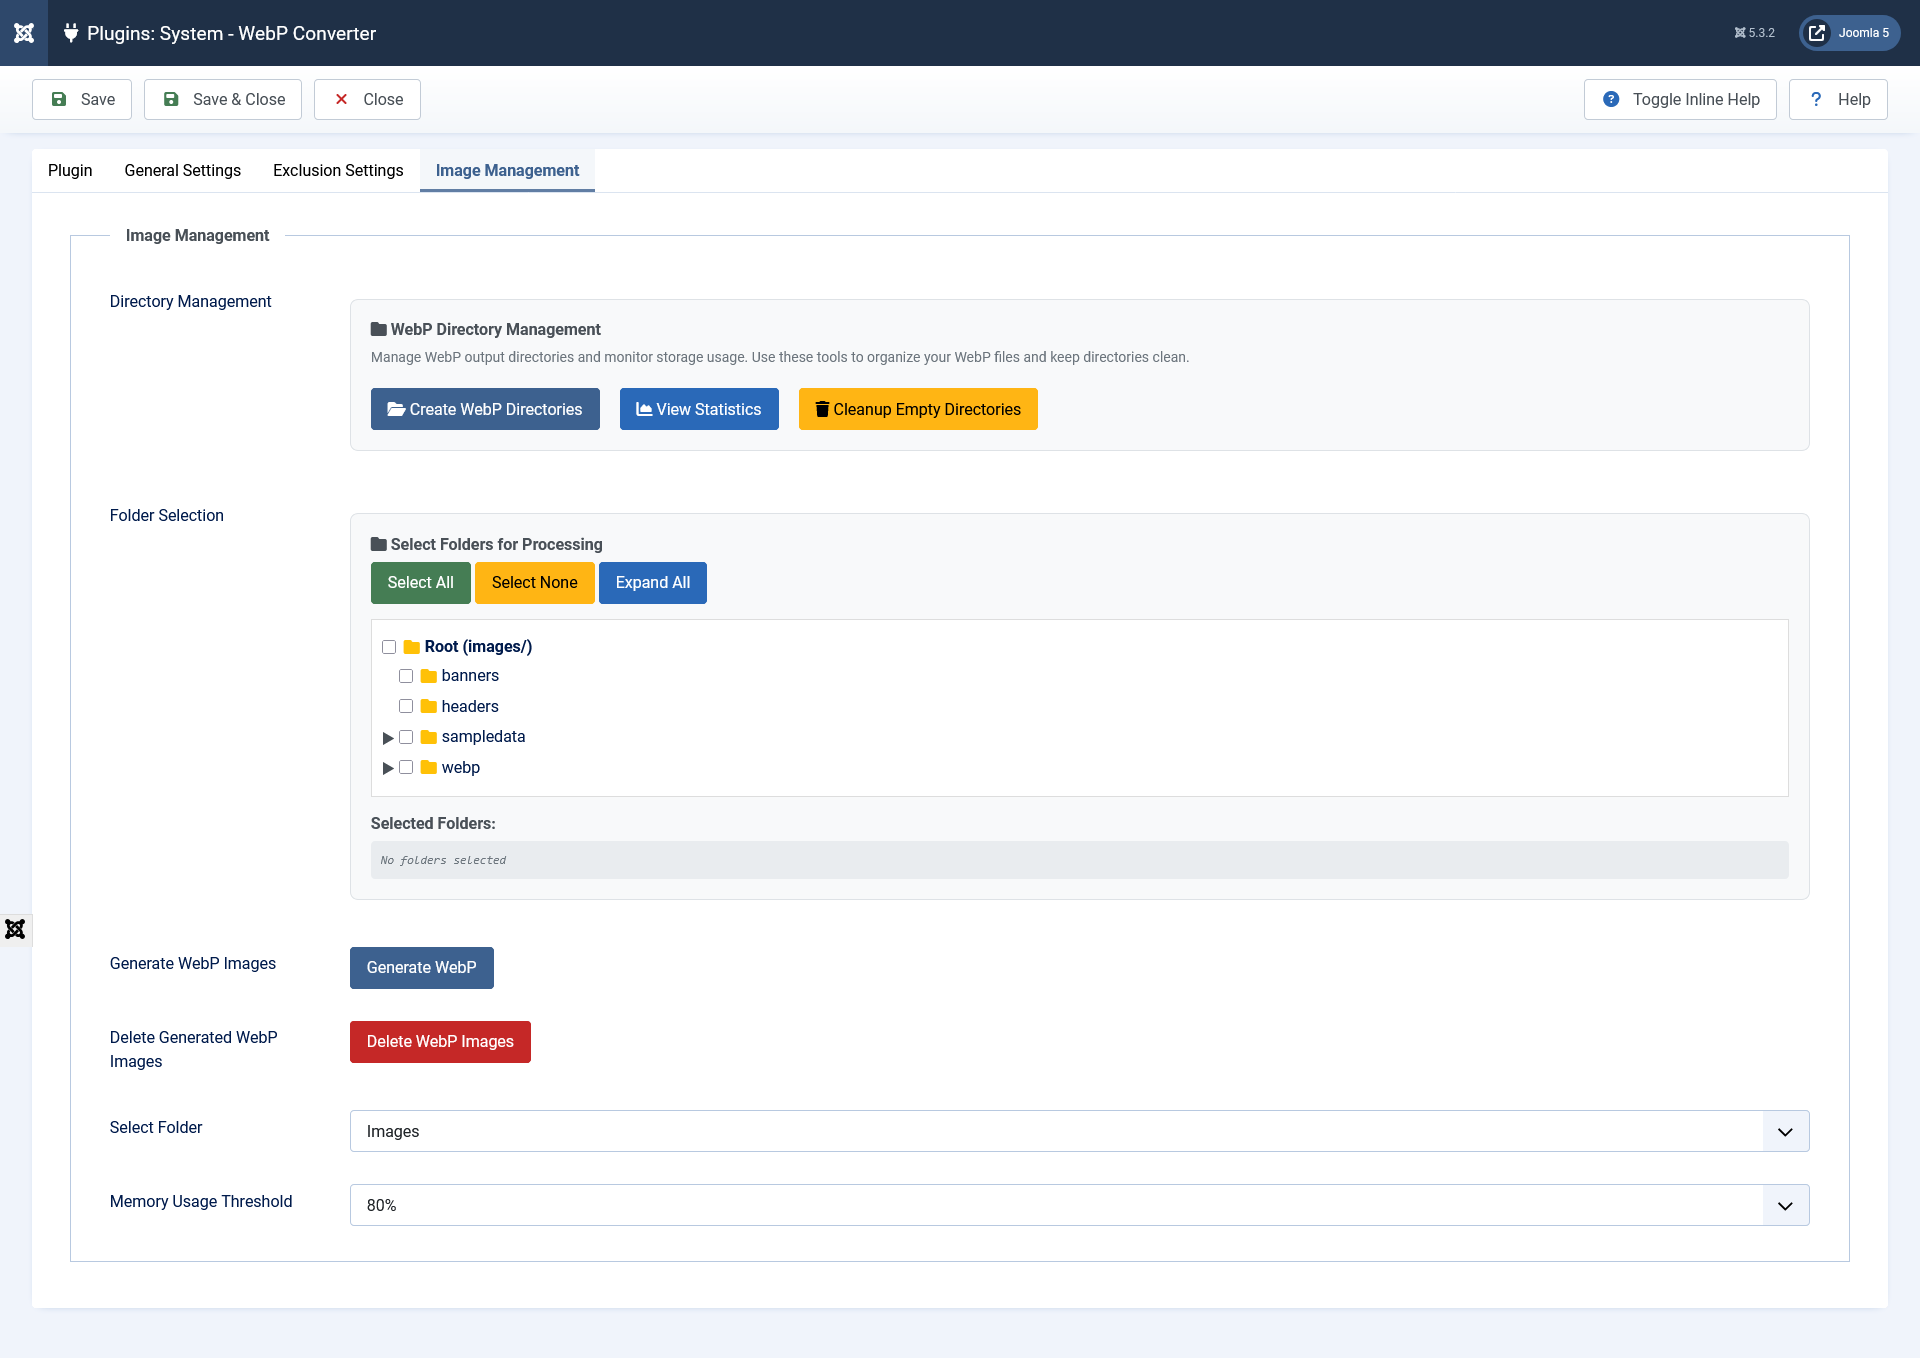
11. Can I convert multiple images to WebP/AVIF at once?
Yes, the plugin includes powerful batch conversion capabilities. You can select one, multiple, or all folders using the interactive folder tree interface, then choose to convert to WebP only, AVIF only, or both formats simultaneously. The batch process includes real-time progress tracking, detailed statistics, error reporting, and automatic directory creation. The system handles thousands of images efficiently with memory management and rate limiting.
12. How do I delete converted images in a specific format?
Use the "Delete Converted Images" button with the format dropdown. Select "WebP Only" to delete only WebP files, "AVIF Only" to delete only AVIF files, or "Both (WebP + AVIF)" to delete both formats. The system provides a confirmation dialog showing which format(s) will be deleted and only removes converted files, never original images.
Configuration Questions
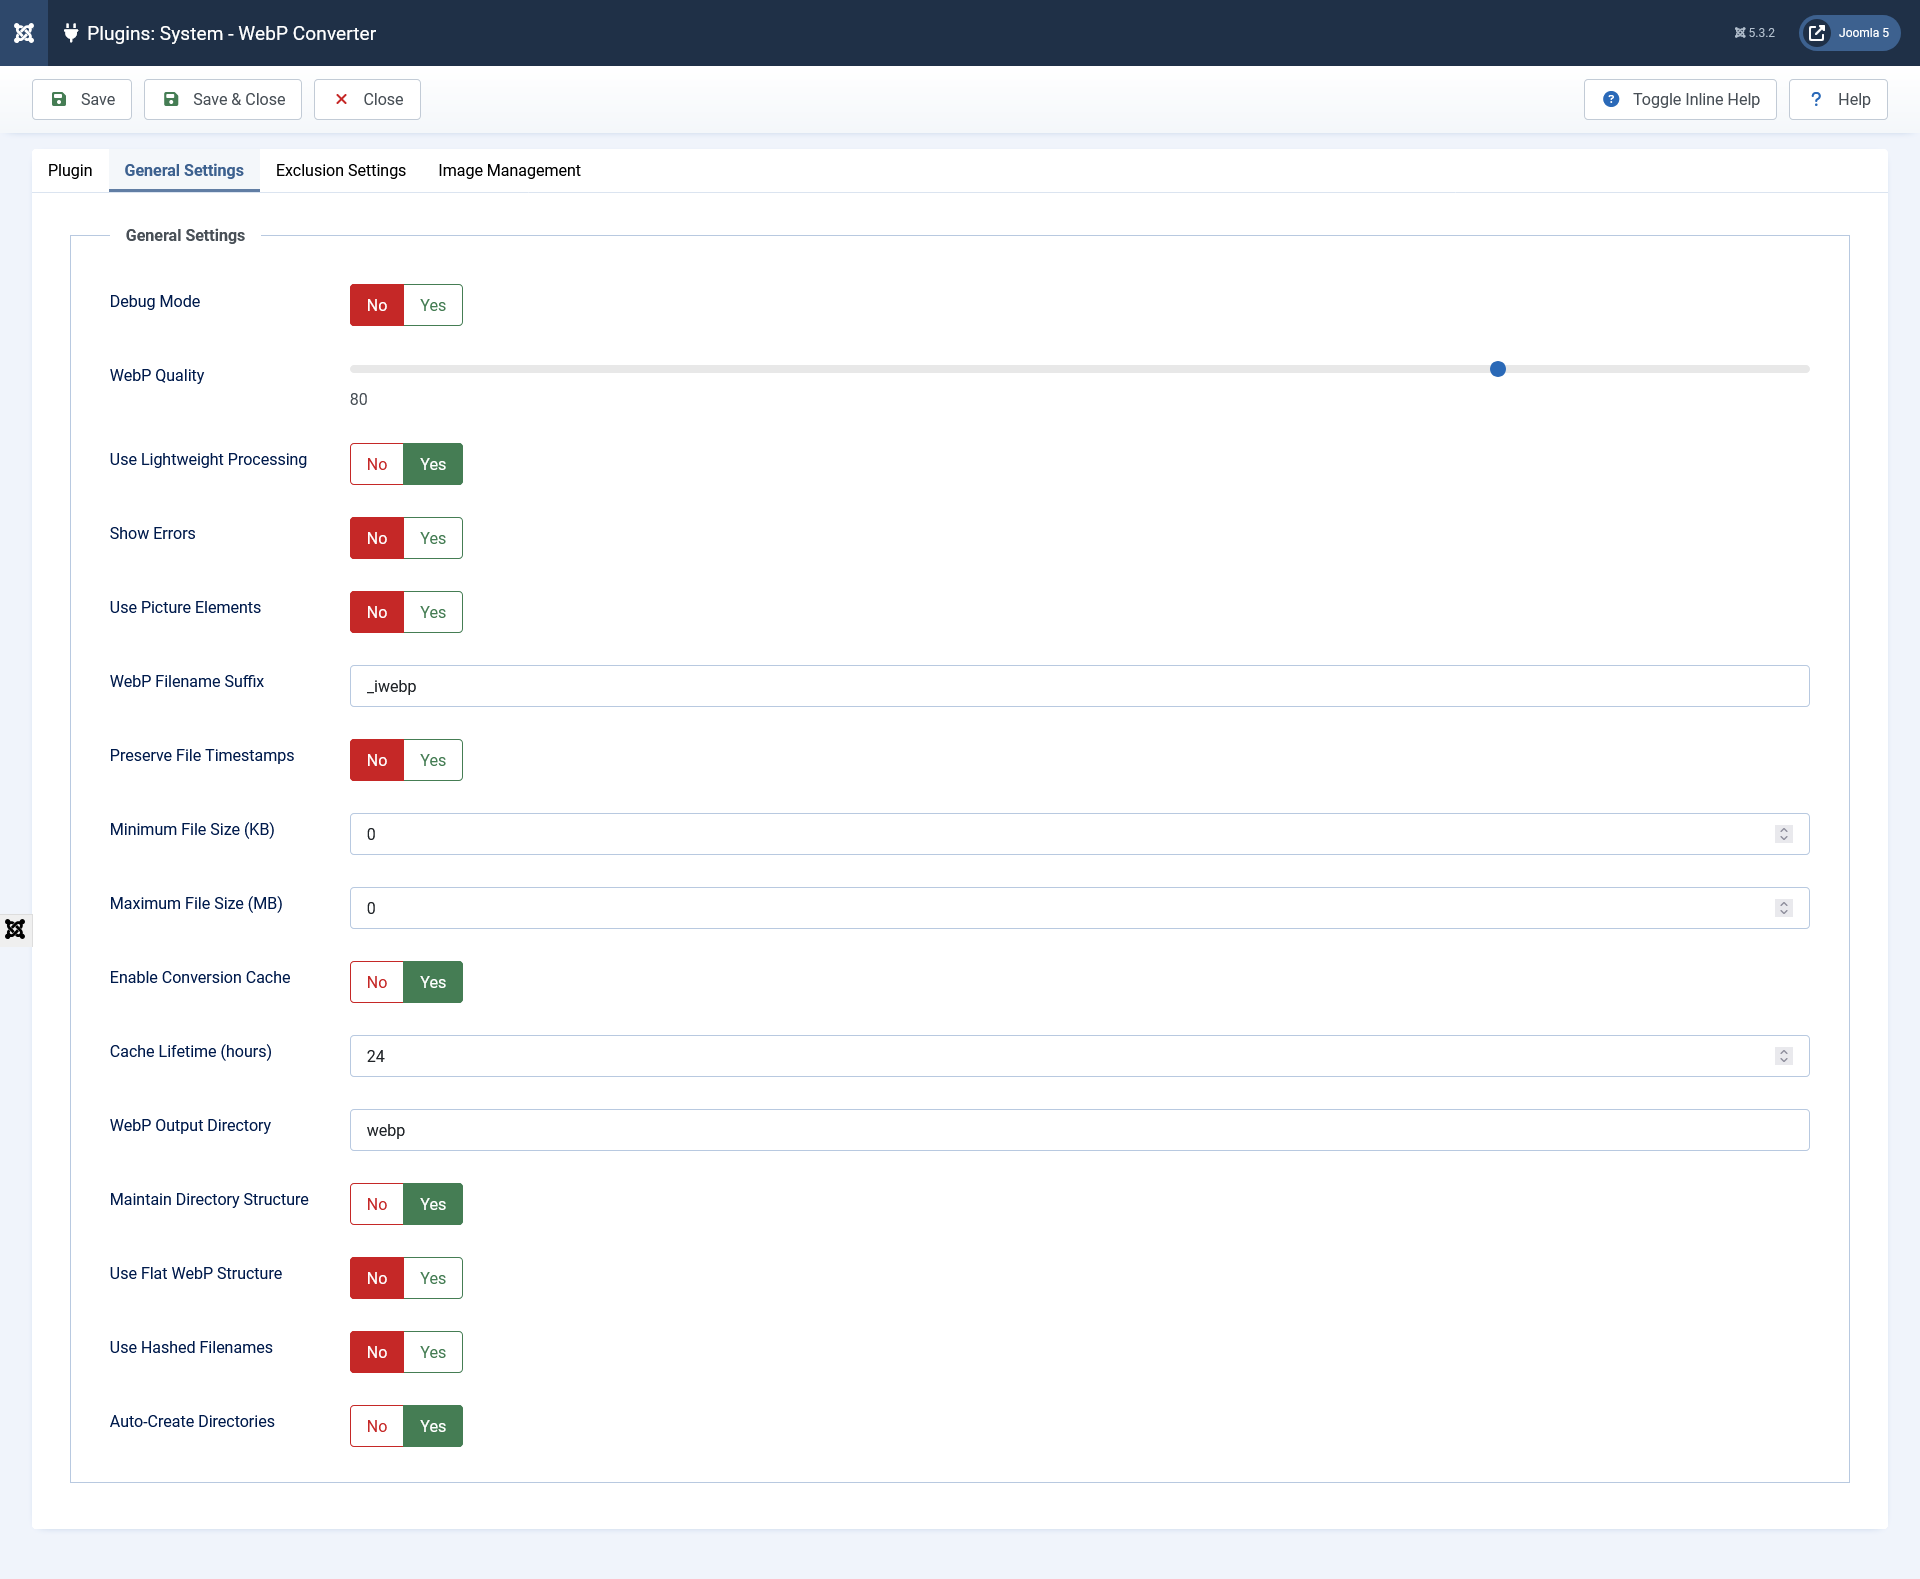
13. How do I configure the plugin for optimal SEO performance?
For best SEO results:
- Enable "Both" formats for maximum compression
- Enable "Use Picture Elements" (automatic when Both is selected)
- Enable "Enable Lazy Loading" for improved LCP scores
- Keep "Lazy Loading Above the Fold" disabled to ensure critical images load immediately
- Set WebP quality to 75-80% and AVIF quality to 45-55% for optimal balance
- Enable debug mode temporarily to verify conversions and check statistics
14. What directory structure should I use for large websites?
For large news sites with extensive archives:
- WebP Output Directory: "webp_thumbs" or "thumbnails"
- Use Flat Structure: Yes (stores all files in single directory)
- Use Hashed Filenames: Yes (prevents conflicts)
- Image Format: "Both" for maximum compression
- Quality: WebP 75%, AVIF 50%
- Enable Cache: Yes (48-72 hours)
- File Size Limits: 5KB - 15MB
Troubleshooting Questions
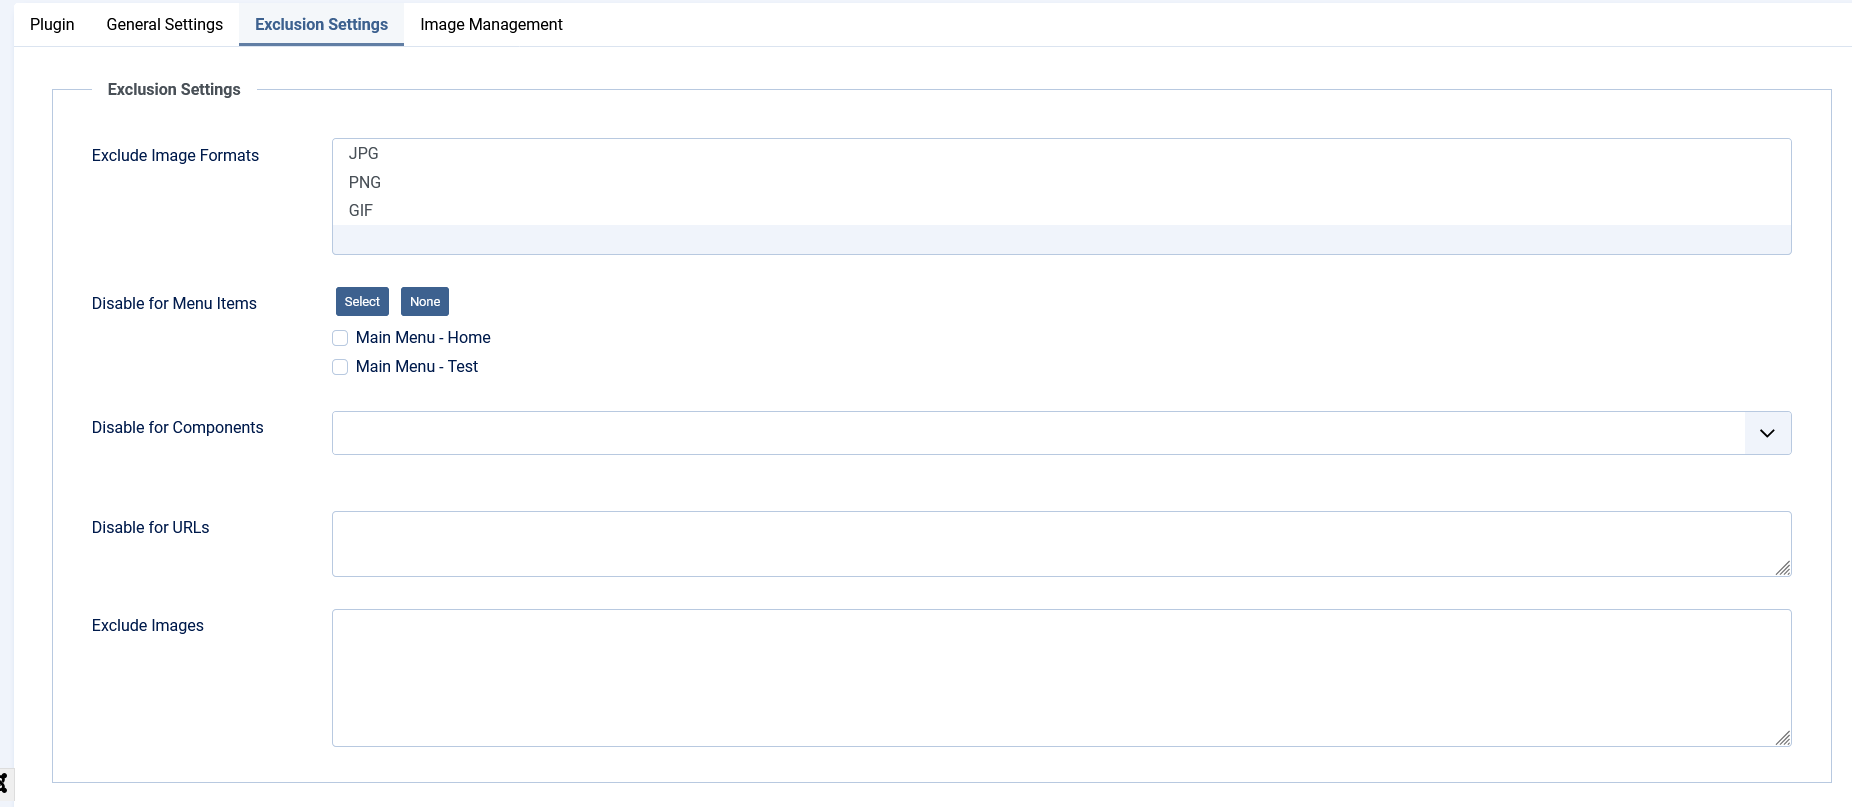
15. Why are some images not being converted?
Check the following:
- Verify the image format is supported (JPG, PNG, GIF - SVG is automatically excluded)
- Check exclusion settings (formats, menu items, components, URLs, specific images)
- Verify file size limits (minimum and maximum) aren't excluding the image
- Enable debug mode to see detailed conversion information
- Check that the plugin is enabled and not excluded for that page/component
16. How can I monitor conversion performance and statistics?
The plugin includes a comprehensive debug mode that displays detailed statistics: original and converted file paths, file sizes, compression percentages, space saved per image, total savings, format-specific metrics (WebP/AVIF), memory usage, processing times, and cache performance. The advanced logging system tracks all operations with context information (user ID, IP address, timestamps) for troubleshooting and optimization.
17. The debug output shows confusing information when both formats are used. How do I read it?
When "Both" formats are selected, the debug table dynamically adjusts to show separate columns for AVIF and WebP paths, sizes, and savings. Each format's statistics are calculated and displayed individually. The "Details" column shows format-specific information, and the summary section indicates which formats were detected and used. This provides clear visibility into the performance of each format.
Advanced Usage Questions
18. Can the plugin handle large-scale websites with thousands of images?
Yes, the plugin is designed for enterprise-scale deployments. Features include: flat directory structure for large archives, hashed filenames to prevent conflicts, batch processing with progress tracking, memory management to prevent server overload, intelligent caching (90% reduction in repeat operations), lazy loading interface that handles thousands of folders, and rate limiting to prevent abuse. It's perfect for news sites, e-commerce platforms, and extensive image libraries.
19. Does the plugin work with CDN and caching systems?
Yes, the plugin is fully compatible with CDN and caching systems. It generates consistent, predictable URLs for converted images, preserves original timestamps for cache validation, and works seamlessly with Joomla's Media component configuration. The automatic URL generation ensures perfect integration with CDN services, and the plugin's caching system complements external caching layers for optimal performance.
20. How does the caching system work?
The plugin uses a JSON-based caching system that stores conversion results and statistics, reducing processing overhead by up to 90% for repeat operations. Cache lifetime is configurable (1-168 hours) to suit different site types. The system automatically checks if original images have been modified (via file timestamps) and only re-converts when necessary. Automatic cache cleanup removes expired entries, and cache hit rates are monitored in debug mode.