Configuration
Create or open the Razorpay payment method, then paste the keys for the mode you are using.
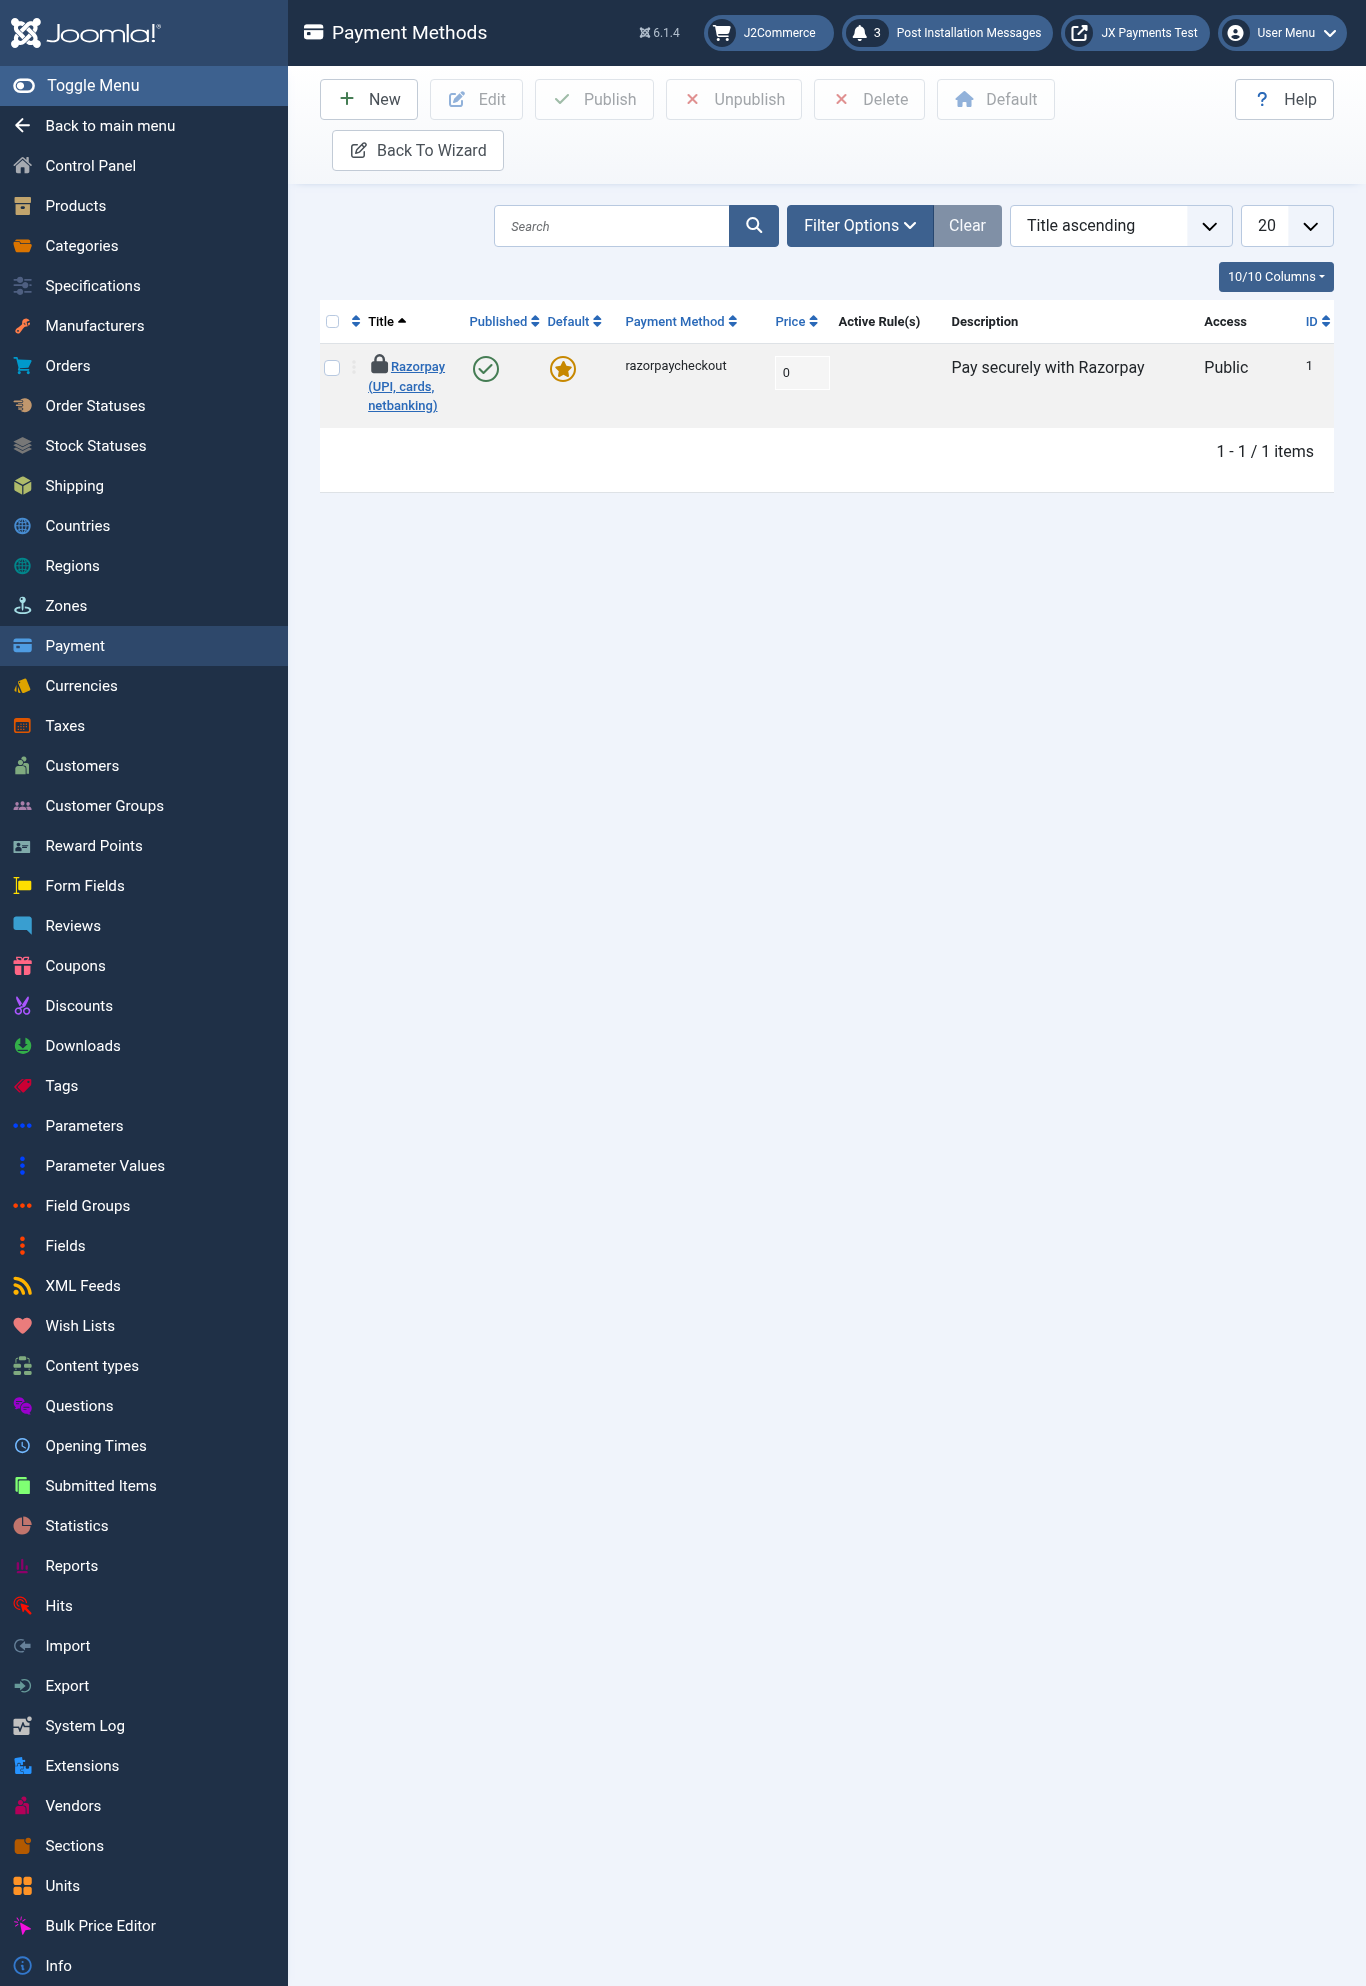
- Go to Components > Phoca Cart > Payment and click New, or open the existing Razorpay method.
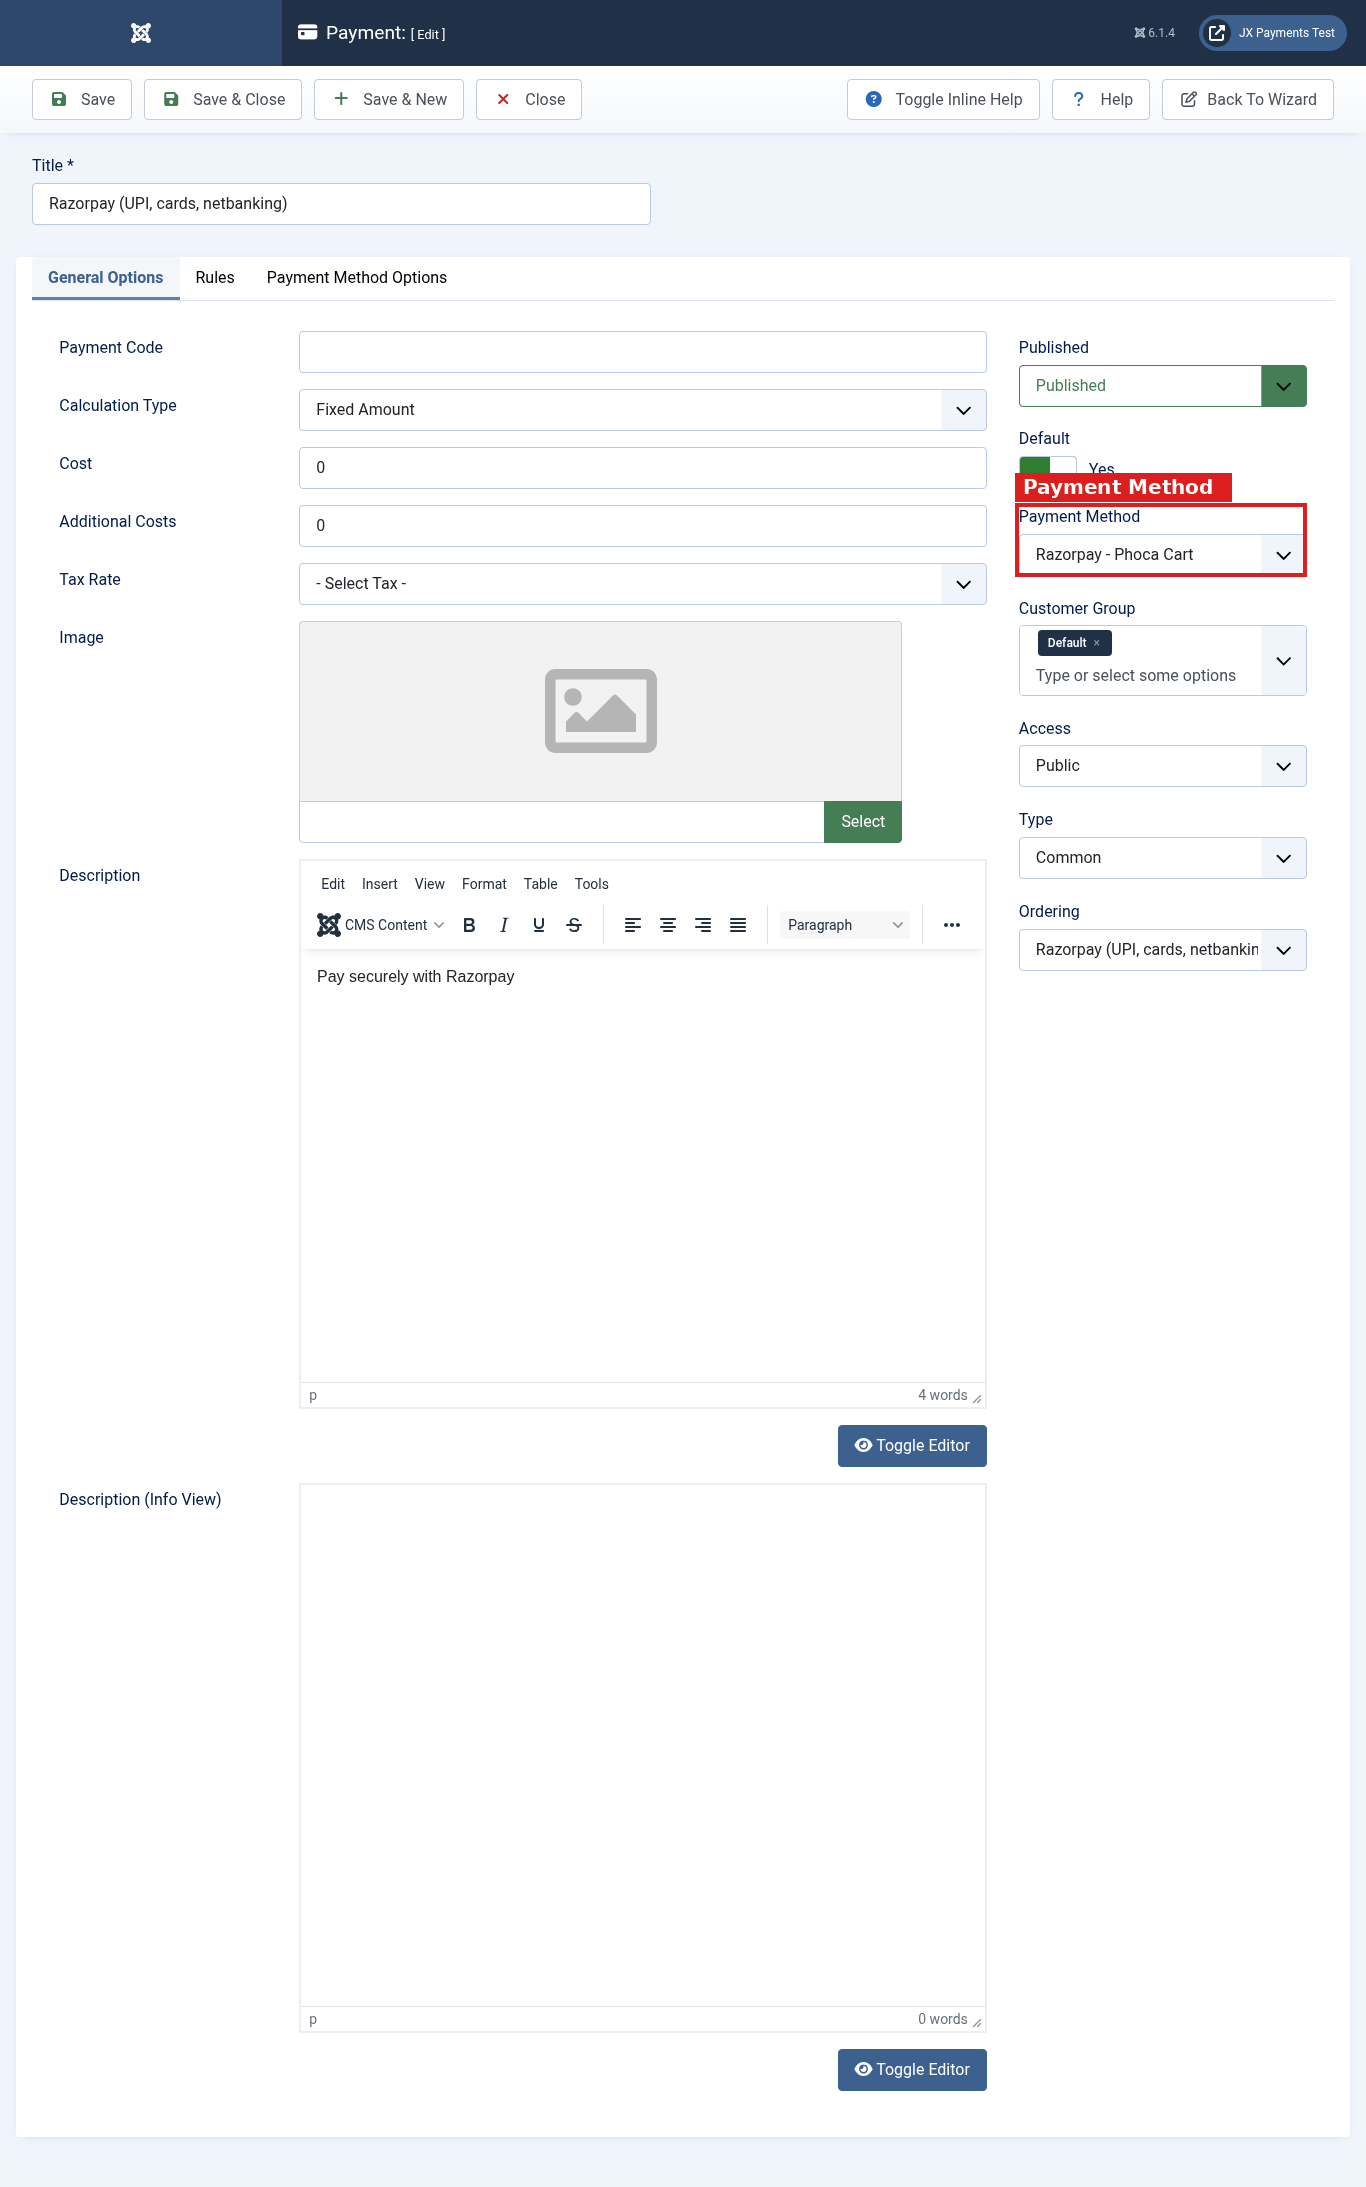
- On General Options, enter a title, choose Razorpay - Phoca Cart in Payment Method, set Published, and choose Access and Customer Group. You can also set a fee, tax, image, and description.
- Click Save once so the method gets an ID. You need that ID in the webhook URL.
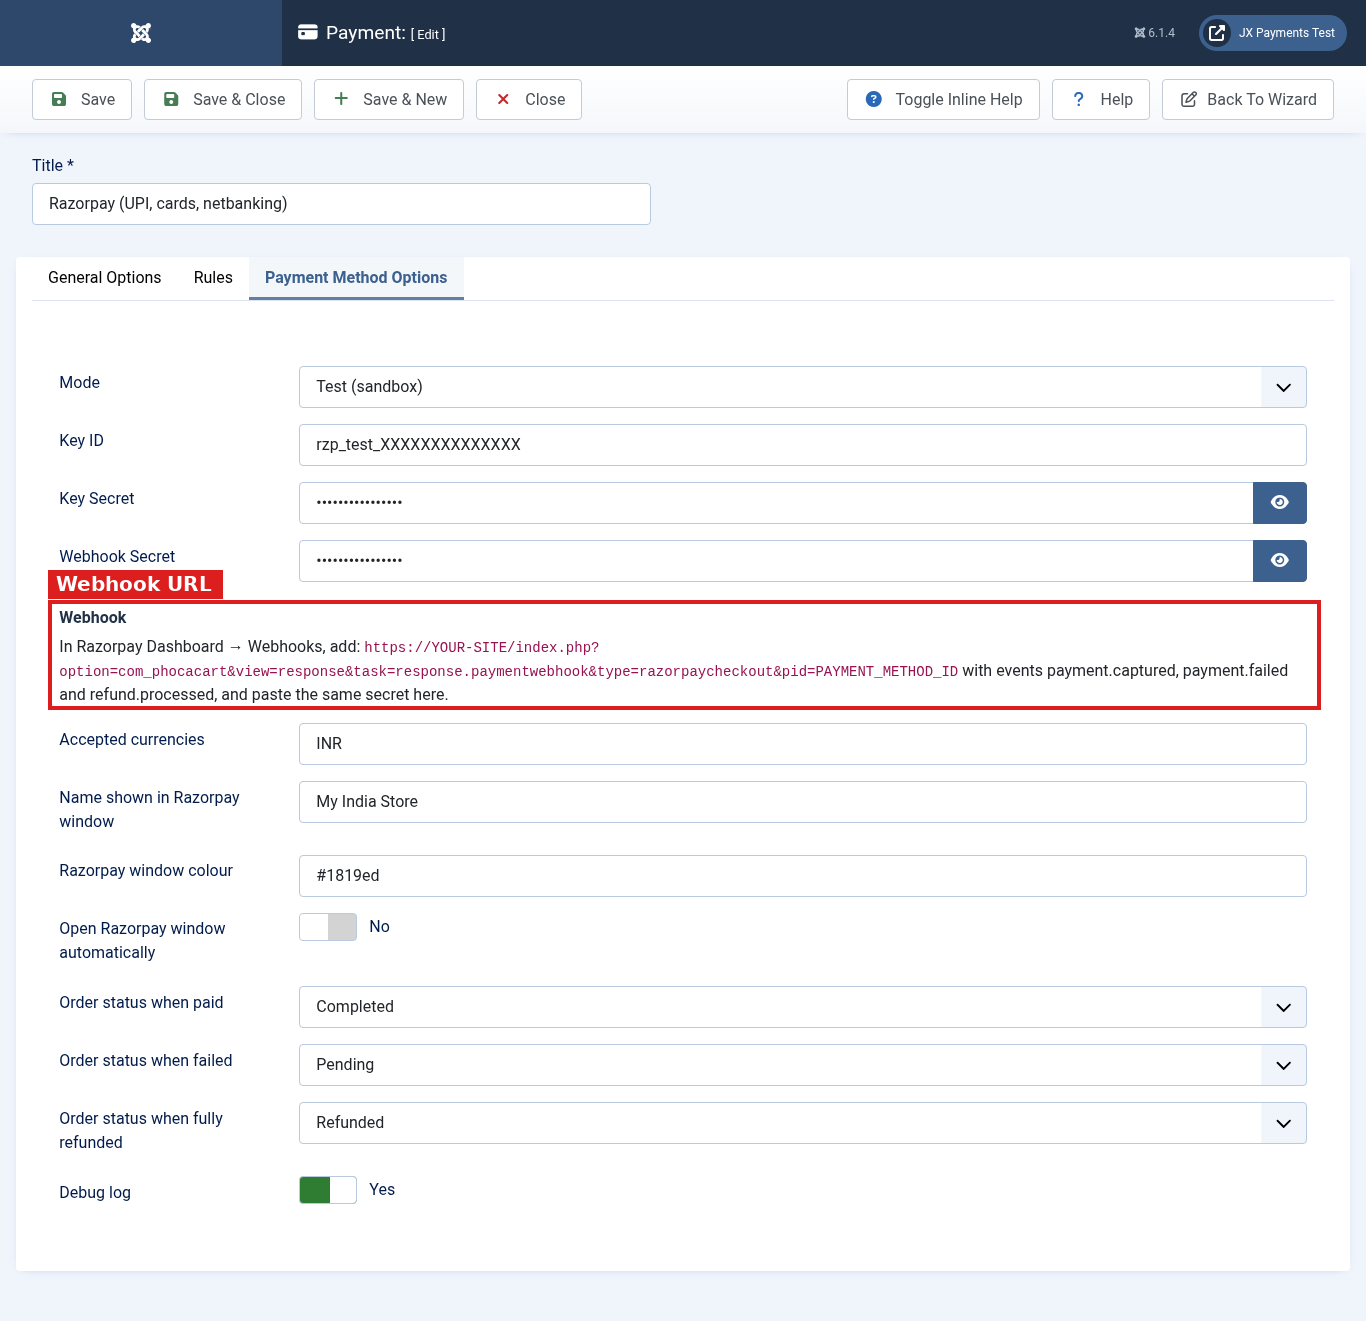
- Open Payment Method Options, fill in the settings, and click Save & Close.
The screen shows only the key fields for the selected mode.
Settings
| Setting | What it does |
|---|---|
| Mode | Test or Live. Only the keys for the selected mode are used. New methods start in Test. |
| Key ID and Key Secret | Test keys while Mode is Test (rzp_test_). Live keys while Mode is Live (rzp_live_). |
| Webhook secret | The secret you typed when creating the webhook for that mode. |
| Accepted currencies | Comma-separated codes. INR is always accepted. Add others, such as USD or EUR, only if International Payments is enabled on the Razorpay account. If the cart currency is not in the list, Razorpay is not offered. Default: INR. |
| Name shown in the Razorpay window | Your store name at the top of the payment window. Leave empty to use the Razorpay default. |
| Razorpay window colour | Accent colour as a hex code. Default: #1819ED. |
| Open Razorpay window automatically | Yes (default) opens the window when the payment page loads. No shows a Pay now with Razorpay button. |
| Show Razorpay logo | No by default. Yes shows the bundled Razorpay logo when the method has no image of its own. An image you set yourself always stays. |
| Order status when paid, failed, or fully refunded | Defaults: Completed, Failed, and Refunded. |
| Debug log | Yes writes extra detail. Keep it off on a live store unless you are troubleshooting. |
Use dummy keys in any screenshot. Never publish a screen that shows real secrets.